Multiple Laravel Applications in XAMPP for Windows.
In this how-to we are going to install Laravel in XAMPP for windows and I am going to show you how to have multiple Laravel applications running in XAMPP.
You will need to have XAMPP for windows installed as well as composer.
If you already have these installed then lets start by creating a subdirectory called “projects” in our “xampp/htdocs” folder. Change ( cd ) into this directory and use the “composer create-project” command to create our first Laravel project. I called mine “lara1”.
Once installed you can start the apache and mysql services using the XAMPP control panel.
Open a browser and type localhost in the url bar. You should see the XAMPP dashboard.
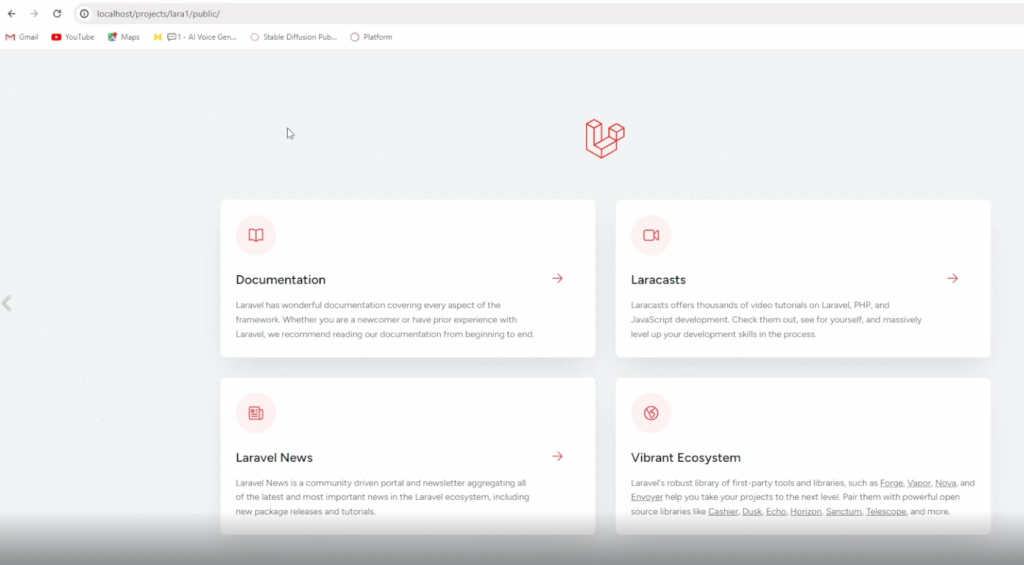
You can manually browse to the “lara1” project by typing “localhost/projects/lara1/public” and now you should see the Laravel default home page. It would be nicer to use the url: “lara1.test” to open our Laravel project, so let’s go ahead and set that up.
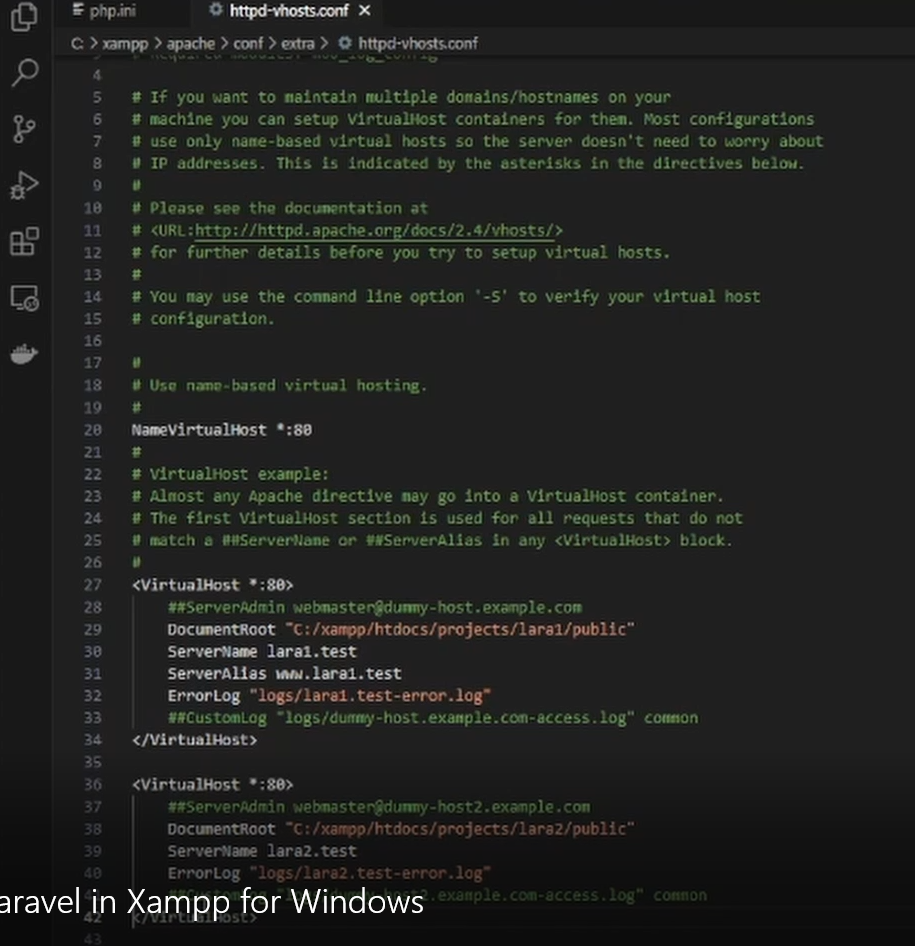
To do this we will open our apache: “vhosts.conf” file. I use visual studio code to edit this file but you can use your favorite code editor. This is the windows path to my “conf” files: “C:\xampp\apache\conf\extra”.
Once the file is open scroll down to the first virtualhosts block and remove the “##” from each line – as in my example. Make sure that your “DocumentRoot” entry has the full path to your lara1 public folder.
Also uncomment the line “NameVirtualHost *:80” as well.
Save this file and then restart apache using XAMPP control panel. Since this virtualhost is first – it will be our default, so now if you type localhost in your browser, you should see the Laravel home page.
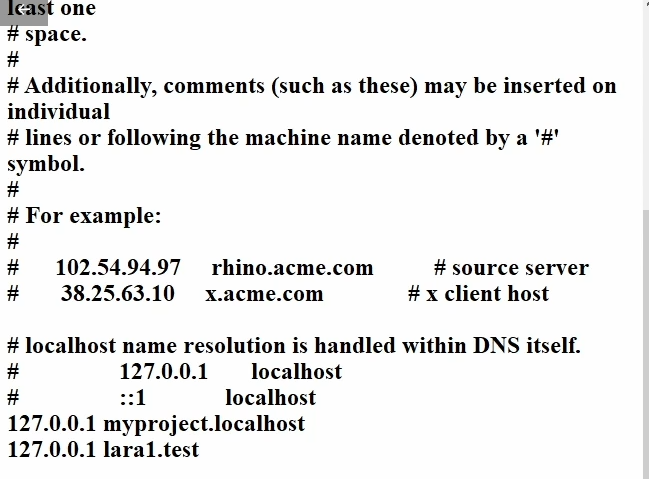
To use the url “lara1.test” we will need to edit our windows hosts file. You can find this file here:
C:\Windows\System32\drivers\etc
You may need to update the properties of this file to allow editing by non admin users.
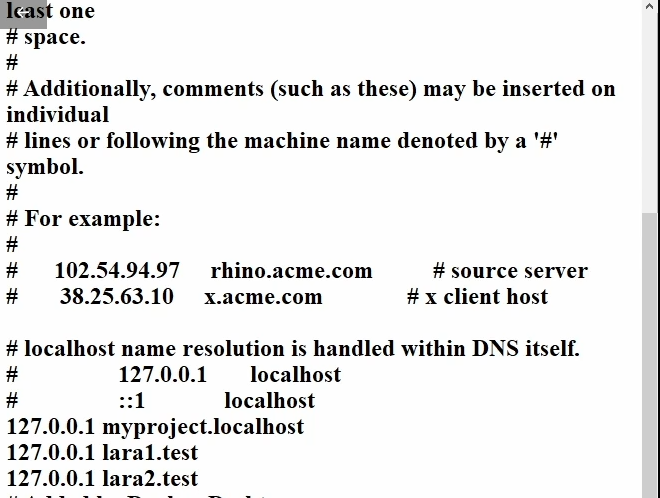
I usually use notepad to edit this file. We will add the line “127.0.0.1 lara1.test” to the file and then save it.
Now in your browser visit the lara1.test url and you should see the Laravel home page.
Lets now install a second Laravel application and call it “lara2”.
Once installed we will again update our apache virtual hosts file and enable the second virtualhosts block as per the example.
You can continue to add as many virtual hosts blocks as you require.
Once updated and saved remember to restart your apache service from XAMPP control panel.
Then update your windows hosts file by adding the line: “127.0.0.1 lara2.test”
You should now be able to browse to both lara1.test and lara2.test.
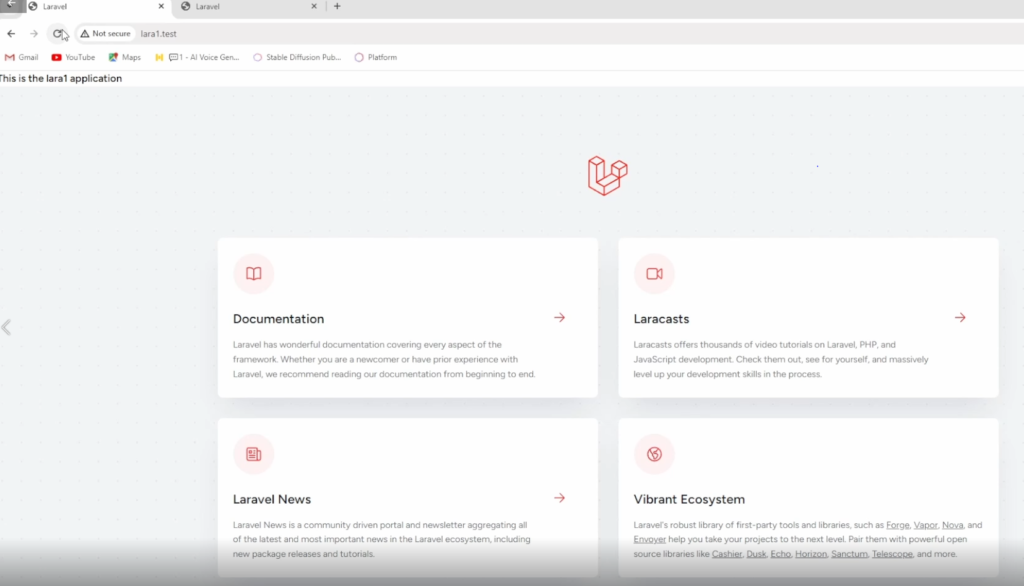
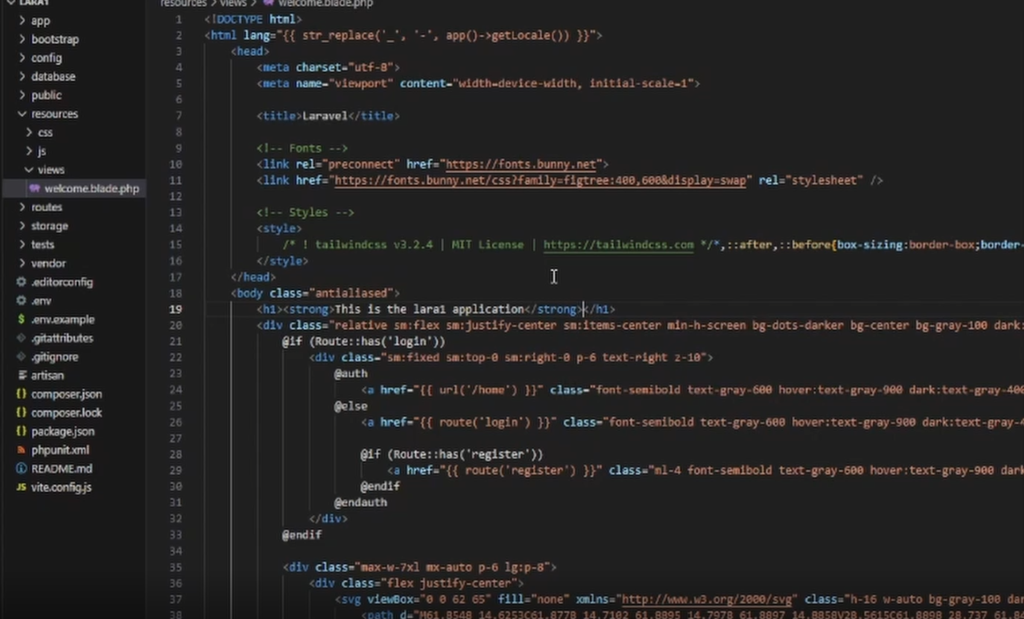
To differentiate between the two applications we can edit the welcome.blade.php file for the lara1 project.
I used visual studio code to open the folder containing the lara1 project and browsed to the resources -> views -> welcome.blade.php file. I then added the text “This is the lara1 application” inside an H1 and strong tags.
Now we can see that text when we browse to the lara1 laravel application.
So now we have a way to run multiple Laravel applications using XAMPP for windows.