
XAMPP is an excellent tool if you need a development environment setup for php web development. It’s easy to install and comes with a handy control panel which you can use to confi gure your system. So let’s get started on the install.
First visit the apachefriends.org web site at https://apachefriends.org and click on the XAMPP for Windows button.

Once the download is complete, locate the downloaded fi le and run the installer. You may get a couple of warnings to begin with regarding anti virus software and windows UAC.
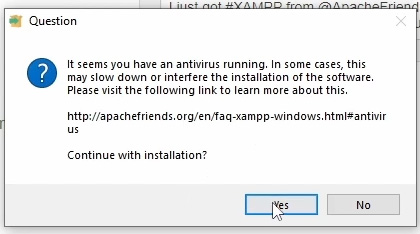

If you choose to ignore them the install will work, just remember to leave the default installation folder in a later step set to “C:/xampp”.
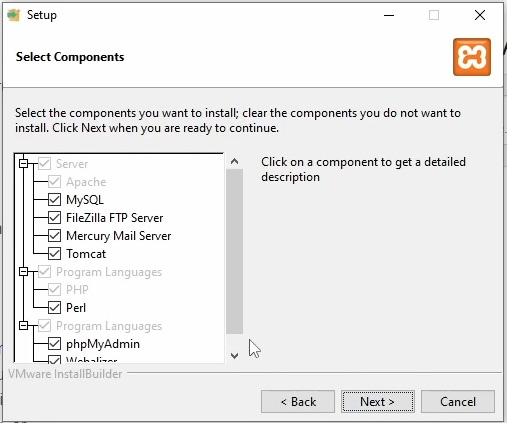
Follow the installation process, I usually keep the default values and install all of the components.
Leave the default install folder below unless you have disabled windows UAC and want to install in your program files folder.

I also leave the box checked next to starting the XAMPP control panel.
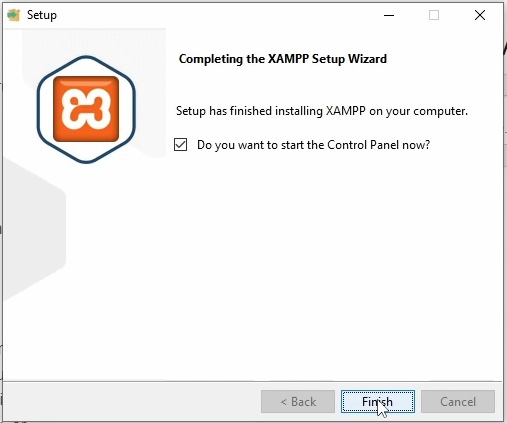
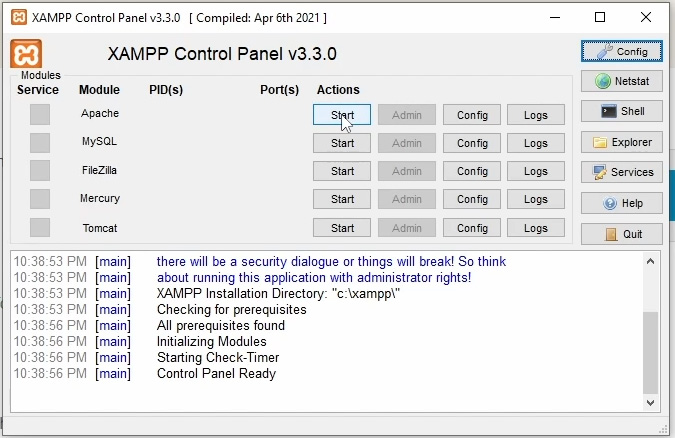
Once the control panel has opened start the Apache and MySQL services. You can do this by clicking the ‘Start’ button next to each service. You can leave the other services off for now.

To test your new installation, open your web browser and type ‘http://localhost’ in the address bar. If you see the XAMPP dashboard or a welcome page, congratulations! Your XAMPP installation on Windows 10 is successful.

So that’s all there is to installing xampp on windows 10. You can watch my youtube video below which covers the above install. Thanks and enjoy your development experience.